


(only have a minute? jump to takeaways)
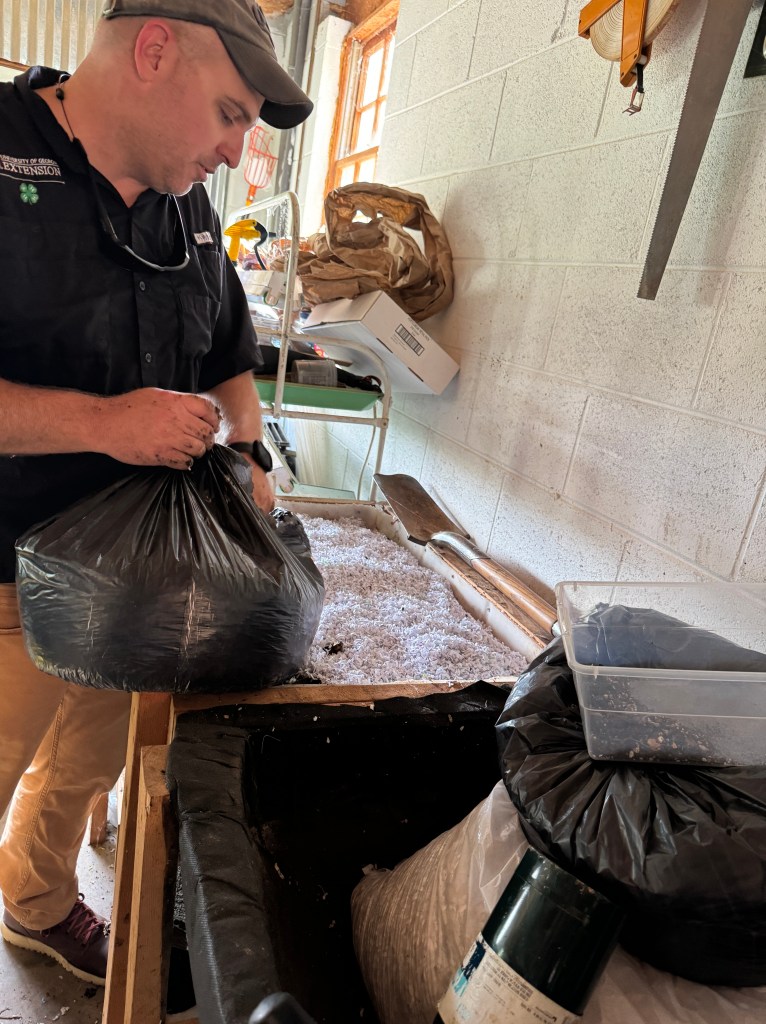
Josh Fuder is an extension agent in Cherokee County, Georgia. He is an absolute rock star at composting and very kindly shared his recipe for beginners. Here’s all you need to get started…
Shopping list:
- 2 plastic bins, somewhere between 15 qt. and 32 qt.
- Dry, papery material for bedding layer (see instructions for options)
- 2 cups finished compost or garden soil
- 1/2 lb. worms (red wigglers)
- 2 carpet squares
For the optional DIY sifter:
- 3 square feet hardware cloth
- 2 pieces of lumber (2x4s)
- Staple gun
Start-up instructions from Josh:
- Start with a 2-inch bedding layer, wetted to the point where there is no extra water – no water squeezes out of a handful. I really like the cross-cut shredded paper I’m able to get, but newspaper, carboard, paper egg cartons are good as well. There is a lot that can work for the bedding layer, but just break them up as much as possible.
- Introduce a couple cups of finished compost or garden soil.
- Add worms: 1 pound = 1,000 individual worms. A worm can consume half of its body weight per day. So, if you start with half a pound, they should be able to consume about 3 pounds of kitchen scraps per week.
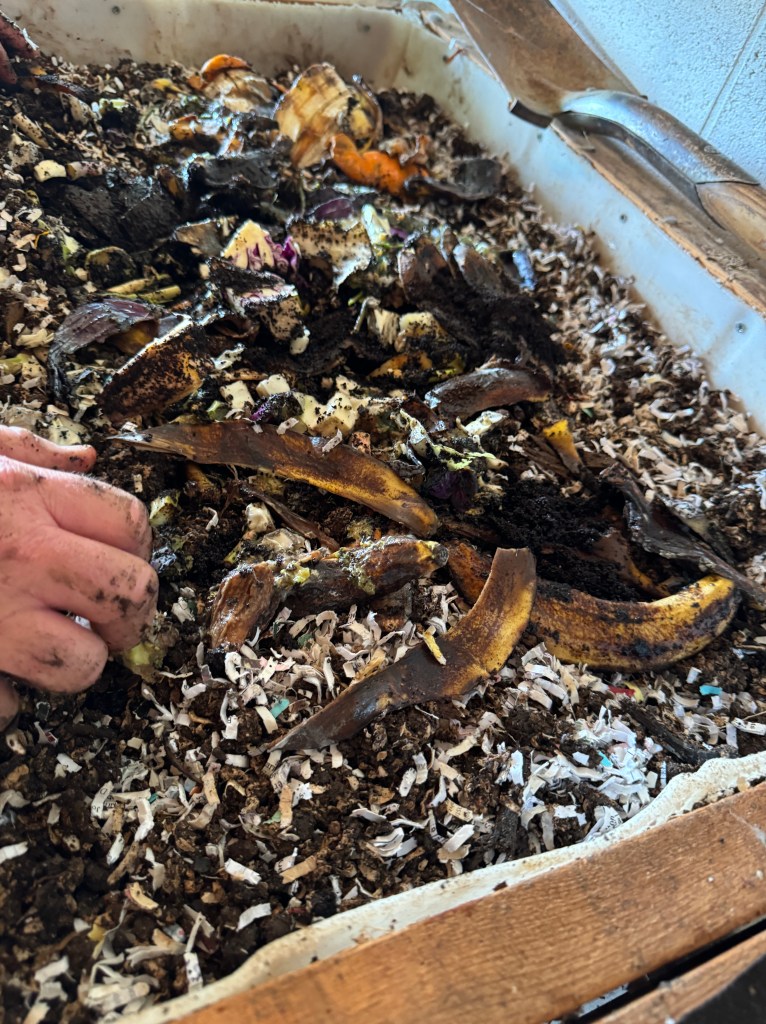
- Add some kitchen scraps about once a week – you can collect these in an enclosed container in your kitchen (limit to fruits, vegetables and rinsed eggshells – no proteins or fats). The smaller the particle size the better, but shredding is not necessary.
A note on the ratio: two-thirds of the inputs should be “browns” or carbon (which is your paper or coffee grounds), and one-third of inputs are “greens” or nitrogen source type material (your kitchen scraps). - Cover with a carpet square to keep the light out and the moisture in – that will keep the worms comfortable. Keep adding browns and greens to keep up the correct ratio, and add water for adequate moisture as needed.
Set up a two-bin system:
- When your bin is full and you’re ready to let it finish, set up a new bin (let’s call it Bin #2) the same way you set up Bin #1 (adding new “browns” plus some finished compost or soil and new worms).
- Stop adding new food to Bin #1 for a couple of weeks – the worms will focus on eating the existing scraps that are already in there.
- Your new scraps will go into Bin #2.
- After 2-3 weeks, you can harvest your finished compost in Bin #1.
Harvesting:
- When your compost appears mostly broken down, lift the lid and carpet square. Let the top layer dry out for a couple of days, monitoring to make sure the bottom layer stays moist for the worms (the worms will congregate there to stay in the moist zone).
- Gently scoop the dry top layers off, leaving about a 1-inch-thick bed of moist material in the bottom.
- Separate worms and large chunks from your finished in one of the following ways:
A) Use a DIY sifter. (Make the sifter by hammering together a 3-foot by 3-foot frame from two-by-fours and stapling hardware cloth across its width.) Put the sifter over a container or tarp. Sift out small-particle compost (this is the part that’s usable in your garden). Larger pieces and worms will be left on top. Place those back in your bin among the moist bed of compost.
B) Pick out larger pieces and worms by hand. Lay out a tarp and scoop the dry upper layers from your compost bin onto it. Pick through the pile, taking out the worms and material that hasn’t broken down. All of that can go back into your compost bin on top of the moist bed of compost. Make sure your worms don’t sit out in the open for too long, or they will dry out!
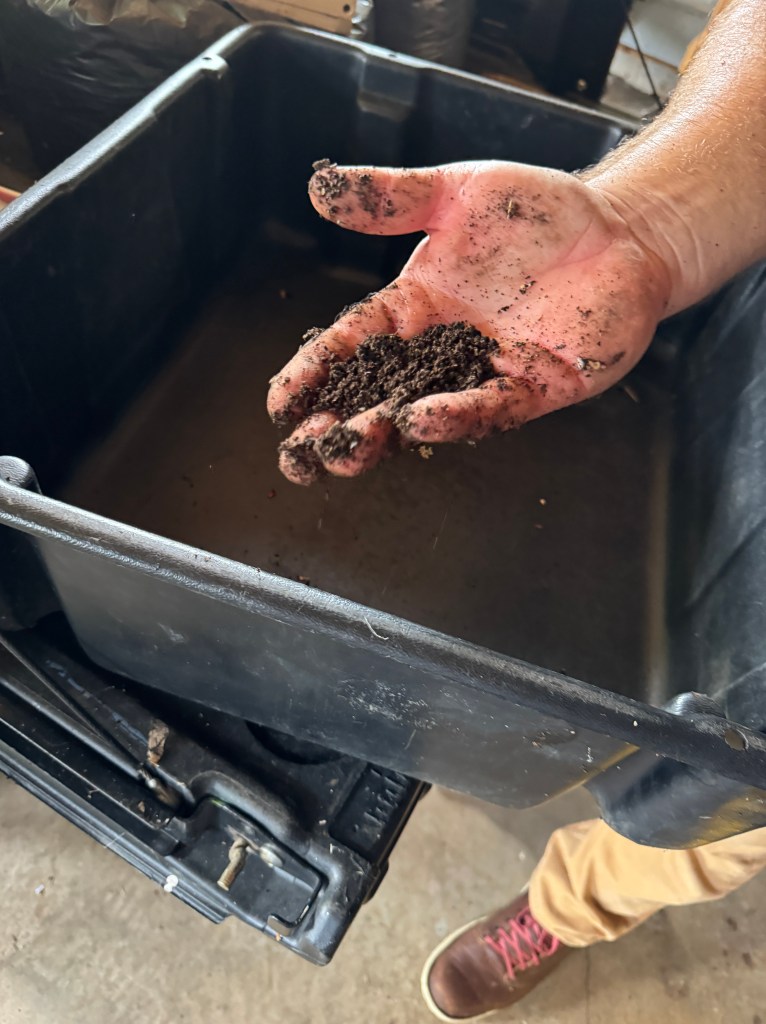
Now you have usable compost for your garden and worms ready to work on your next batch. Each time you start a new bin, make sure your worms have a healthy two-thirds browns to one-third greens ratio and that the moisture level is similar to a moist (but not dripping) sponge. Successful composting is really about habitat management for your worms. So keep the worms happy and fed, and they will reward you with good compost!
Takeaways:
- Worms are the engine that process your compost – keep them happy with a good moisture balance and “browns” to “greens” ratio
- A two-bin system works best to finish one batch of compost while actively adding food to the other
- Only put fruit and vegetable scraps in your compost (along with “browns” like grass, leaves and coffee grounds) – no meat, dairy or fats
- When composting with worms, make sure temperature can be somewhat controlled (like in a basement or garage). Worms are comfortable in the same temps we are!
LISTEN TO GREEN GALS EPISODE 3 HERE:

Leave a comment